Workbench User Guide
Vertex AI Workbenches give the user a dedicated interactive environment to perform pre- or post- processing of data from the cluster. Using the FrontEnd one can create Vertex AI workbenches dedicated to the selected user. Filestore filesystems and storage from the cluster headnode can be mounted within the Workbench and accessed as the selected user.
Create a Workbench
From the workbench menu select the option Add workbench. You will then be
asked to select the appropriate cloud credential. Normal users and admin users
are able to create workbenches however viewer users will need to request a
workbench is created by their administrator.

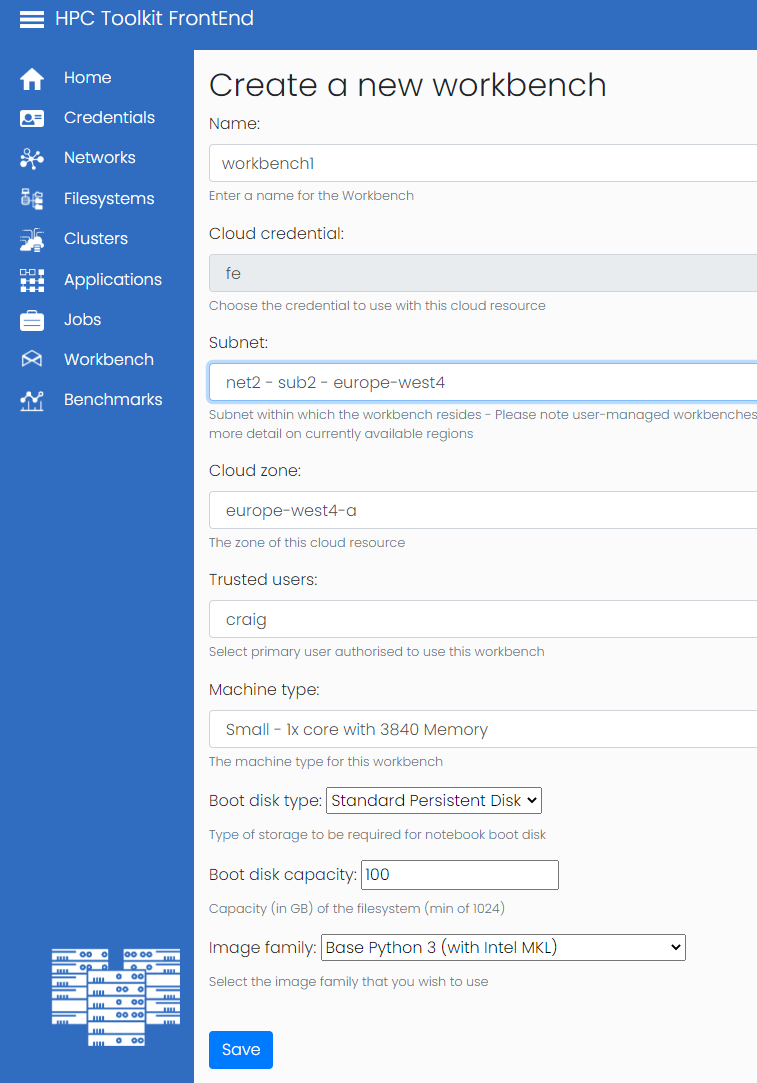
On the above page you will be asked to select name, subnet, cloud zone, Trusted User, Machine Type, Boot disk type, Boot Disk Capacity and image family.
- Name: The given name acts as a human readable id on the Front End.
- Subnet: The Subnet field determines which network the Workbench will be located in, the available subnets will be populated by the networks added to the Front End under the networks menu.
- Cloud zone: The cloud zone field will be populated once the subnet is selected and will govern which zone within the region the workbench will located in.
- Trusted User: The trusted user field sets which user owns and has access to the workbench. This is the user that will be used within the workbench to access any mounted shared file storage.
- Machine Type: As a normal user you will be presented with a selection of pre-approved machine types. If you require a machine type not on this list you will need to request an administrator adds this machine type to the presets or the admin user will have access to create workbenches outside of these pre-approved machine types.
- Boot disk type: The type of disk storage used for the workbench boot disk.
- Boot disk capacity: The amount of disk storage used for the workbench boot disk.
- Image family: Currently the Open Front End supports Python3, Tensorflow, PyTorch and R base images.
Add Storage
The second part of the configuration is to add any desired shared file storage. Once the initial configuration is saved an additional configuration section will be displayed showing the options to mount any shared file storage known about by the Open Front End.

From this menu you will select the file storage you wish to mount, the order in which to mount and the mount point within the filesystem. It is important to remember that these filesystems can only be mounted if they are operational at the time the workbench is started.
Within the workbench there are methods for accessing GCP cloud storage (via the
gsutil command) and git.
Access Workbench
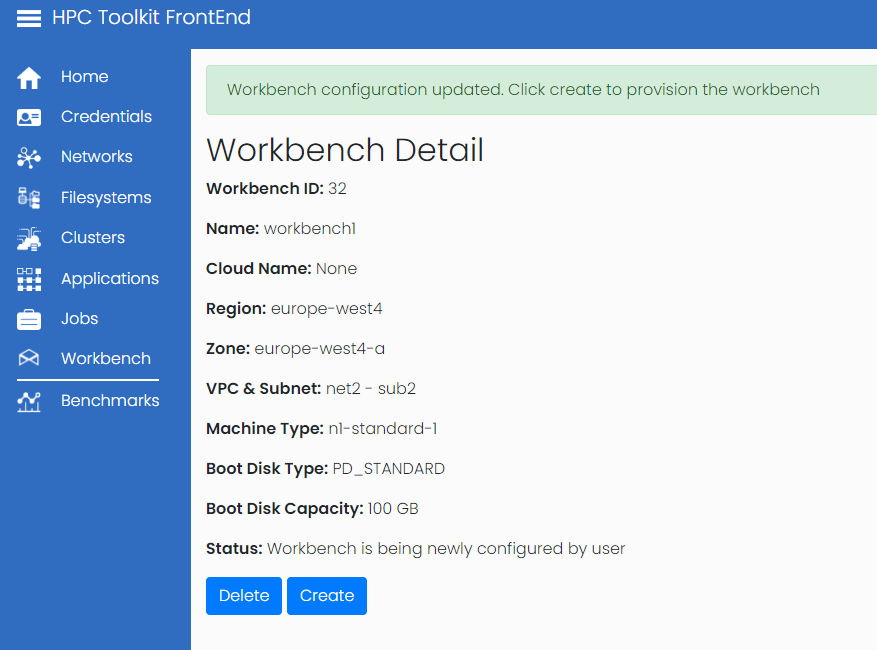
Once the workbench is is configured you will be presented with the details page, which will contain a create link to start the workbench.

Once the create button is pressed the Front End will initiate the creation of the new workbench. It will take a few minutes for the workbench to be available, during which time the status will show Workbench is being created:

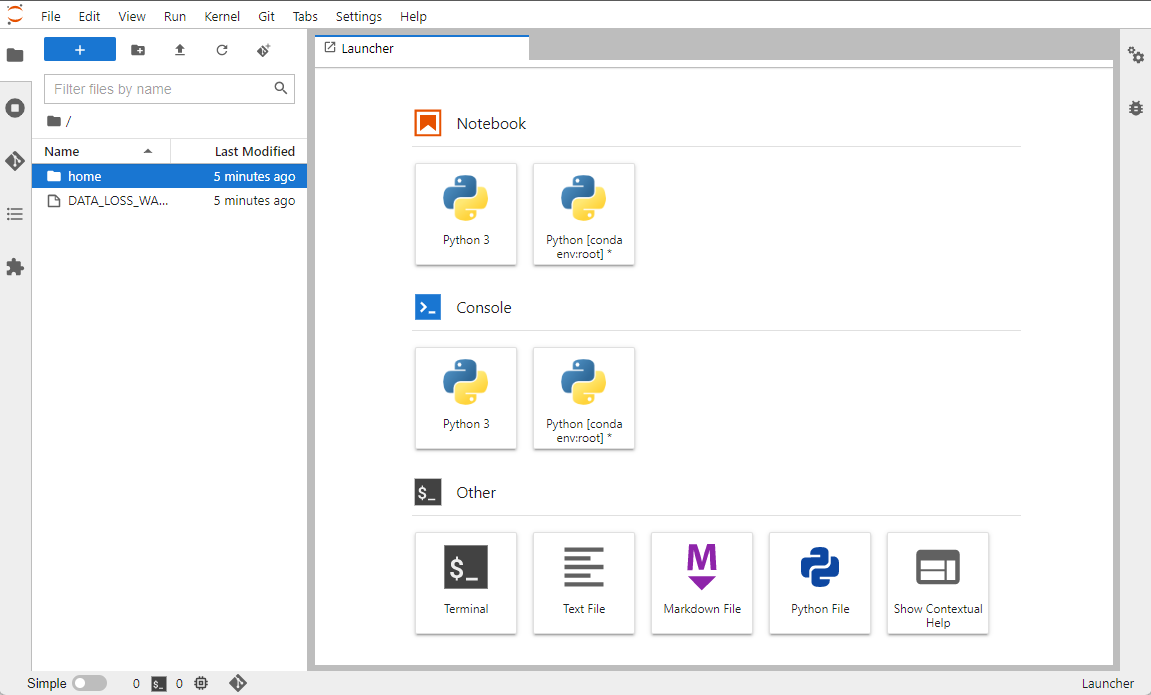
Once ready an Open JupyterLab link will be displayed.

Click the Open JupyterLab button, the notebook will be shown in a separate
page. This is exactly the same view as notebooks opened from GCP console.

Destroy Workbench
If the workbench is no longer required it can be deleted via the destroy link on the workbench page.

It is important to remember that all data stored on the workbench instance will be deleted unless it has been saved in another place such as a shared filesystem or transferred elsewhere in another way. Once the destory button is clicked a confirmation page will be displayed.

You will then be returned to the workbench detail page with the status updated to "terminating".

Once the workbench is destroyed the workbench can either be deleted permanently or recreated if it is required again.
